Appearance
Onboarding
When you open Capyshop for the first time, a 9-step setup wizard guides you through the initial configuration of your store. This wizard runs automatically and must be completed before you can access the admin panel.
Once finished, you land on the admin dashboard where a Getting Started checklist helps you take the first steps toward launching your store.
Before you begin
Make sure Capyshop is running and accessible in your browser. As soon as you open the app, you will be redirected to the onboarding wizard automatically — there is nothing to trigger manually.
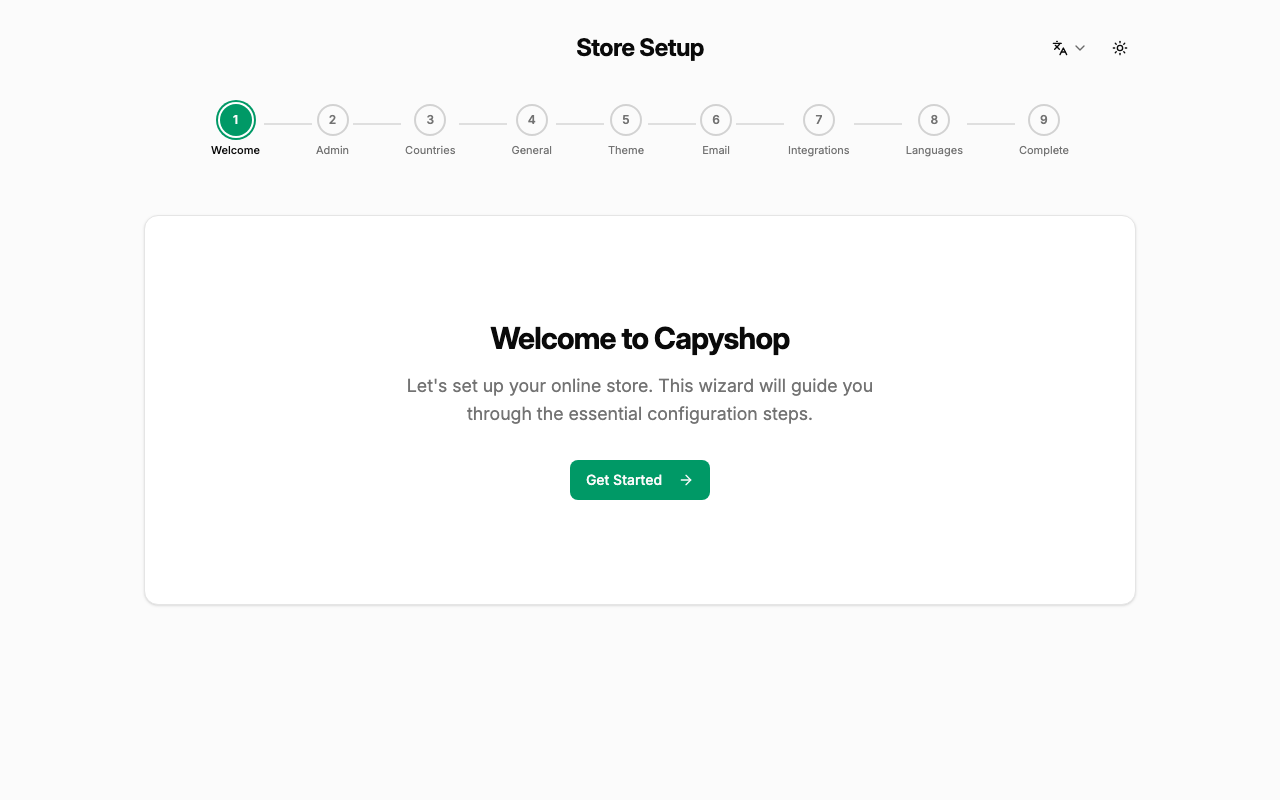
Step 1 — Welcome
The first screen greets you and shows the full 9-step progress bar at the top. Click Get Started to begin.
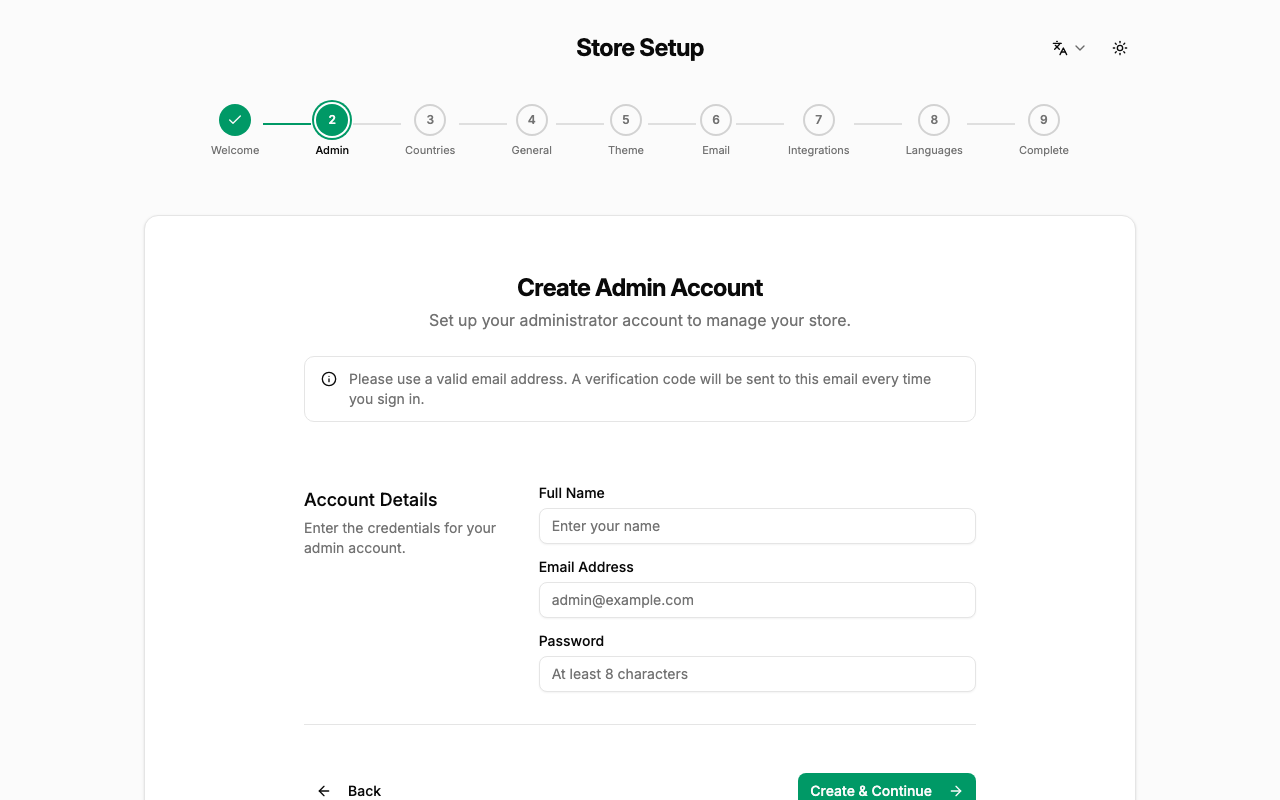
Step 2 — Create your admin account
This is where you create the first administrator account for your store. Fill in your name, email, and a secure password (at least 8 characters), then click Create & Continue.
| Field | Notes |
|---|---|
| Name | Your display name in the admin panel |
| Used to log in; must be a valid email | |
| Password | Minimum 8 characters |
Important: Keep your credentials safe. This account has full admin access to the store.
Step 3 — Select countries
Capyshop needs to know which countries your store will serve. The app automatically imports a full list of countries, states, and cities in the background — this may take a few seconds.
Once the list loads, toggle on every country you want to sell to. At least one country must be active.
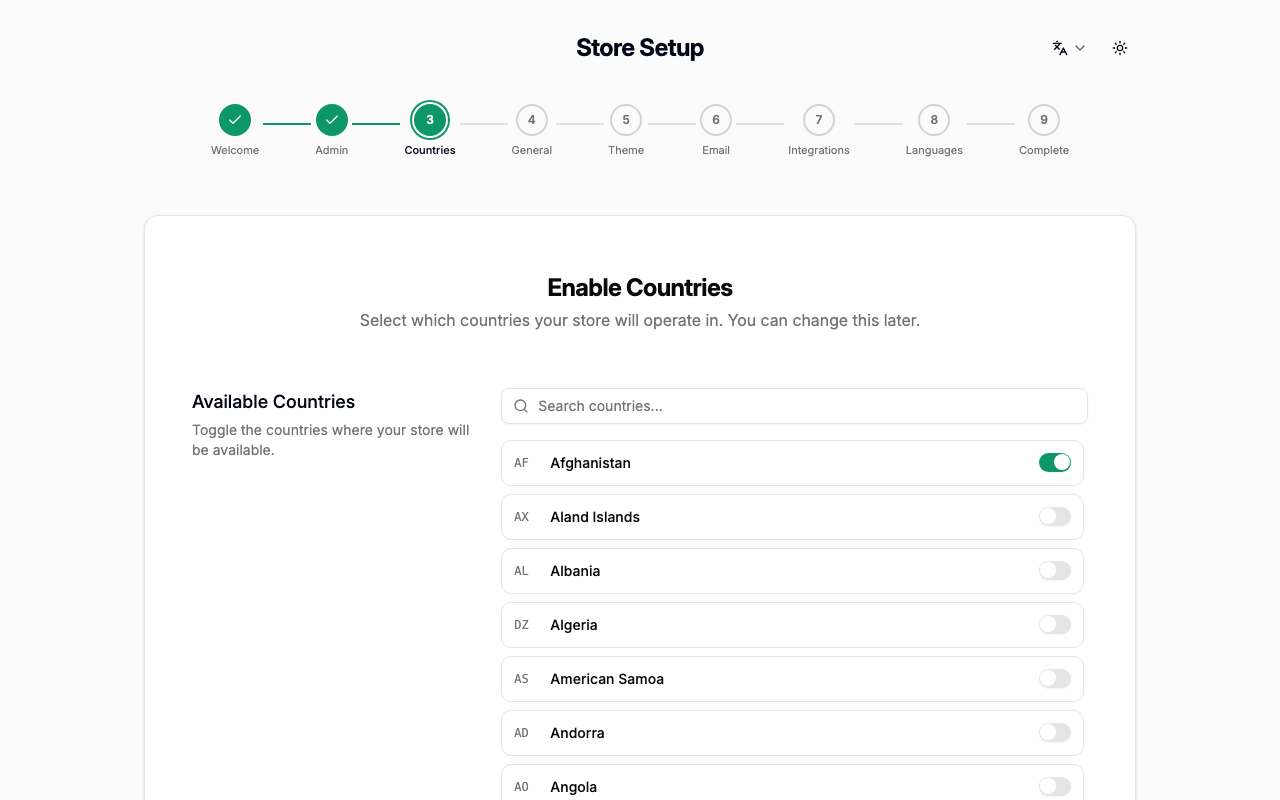
You can add or remove countries later from Settings → Countries in the admin panel.
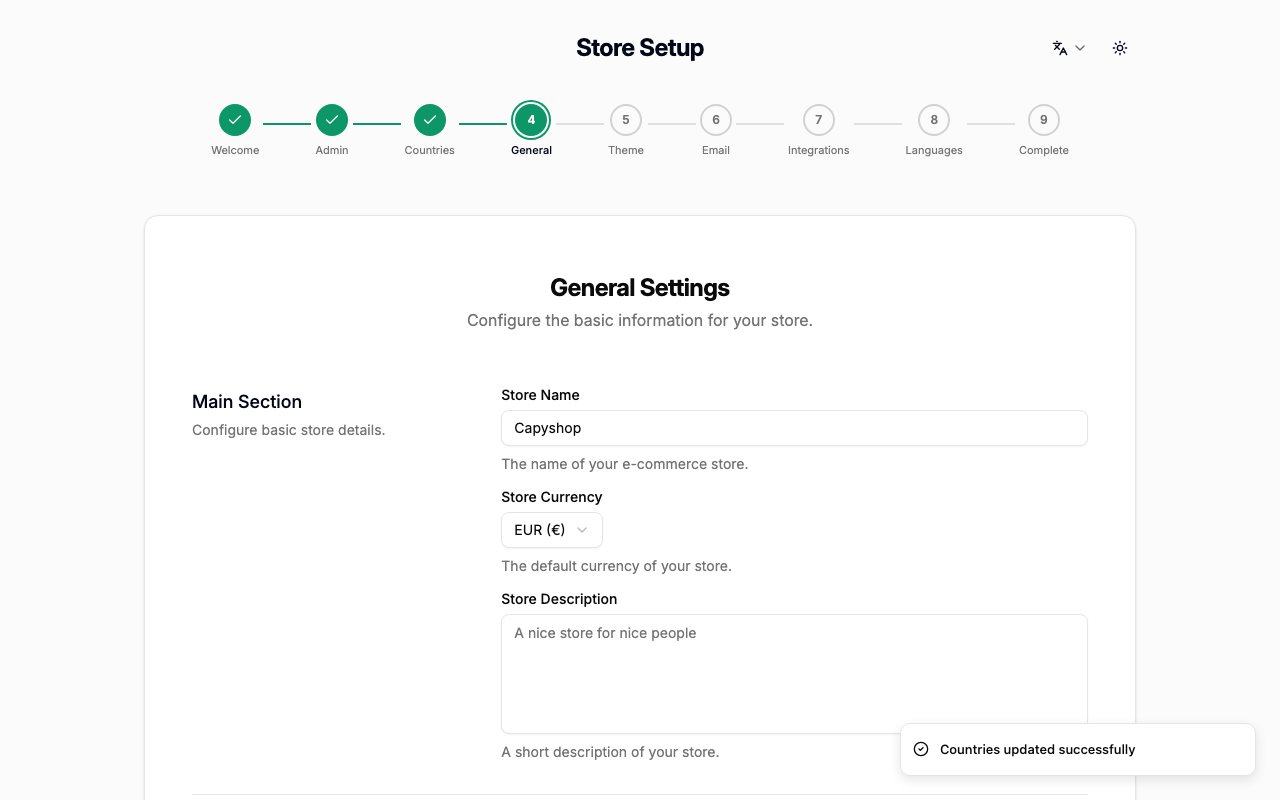
Step 4 — General settings
Here you configure the core identity of your store: its name, currency, address, logo, and social media links.
| Field | Notes |
|---|---|
| Store name | Shown in the browser tab, emails, and SEO meta tags |
| Currency | The default currency for prices and checkout |
| Country | Required. Select the country where your business is based |
| Address | Your physical business address |
| Logo / Favicon | Upload your brand images (PNG or SVG recommended) |
| Social links | Add URLs for X, Facebook, Instagram, TikTok, or WhatsApp |
Step 5 — Theme
Customize the visual appearance of your storefront. You can configure separate color palettes for light mode and dark mode, and choose a global font.
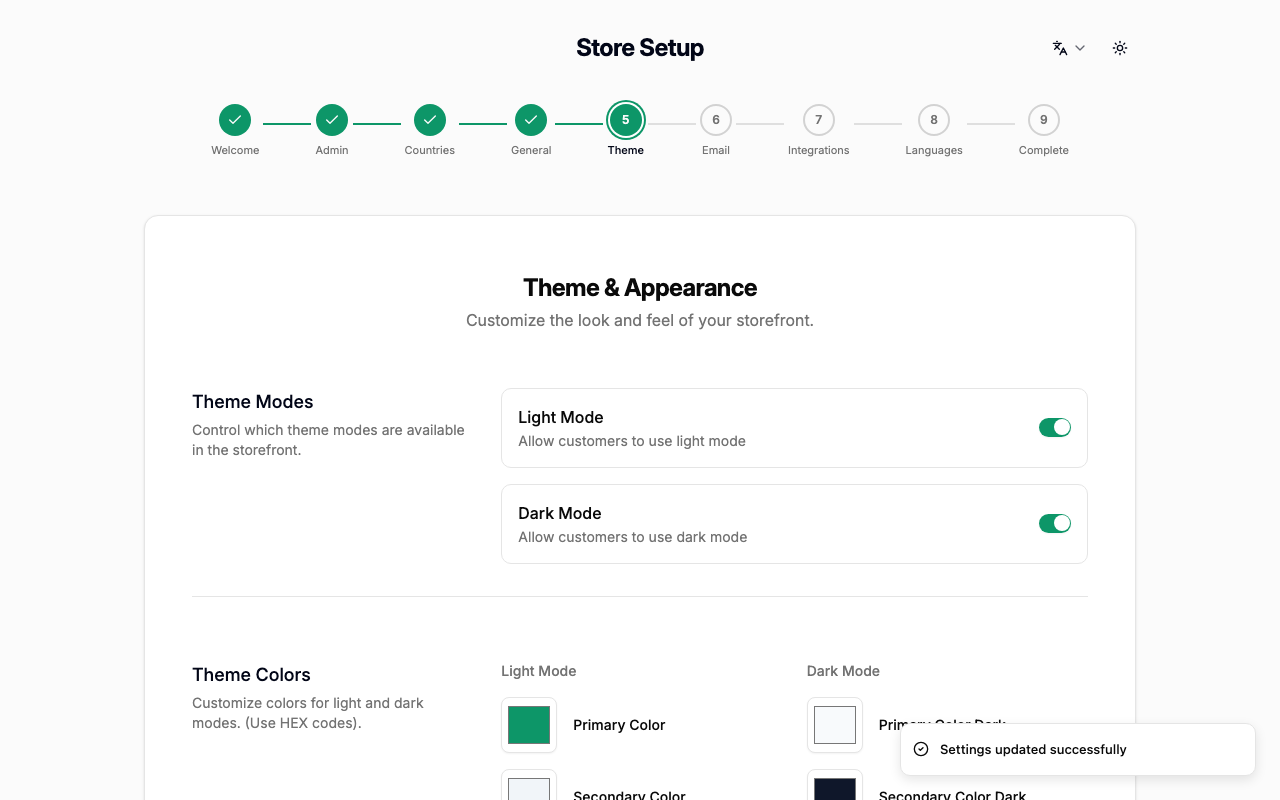
At least one mode (light or dark) must be enabled. You can change all colors later from Settings → Theme in the admin panel.
Step 6 — Email
Configure outbound email so your store can send order confirmations, shipping updates, and other notifications to customers.
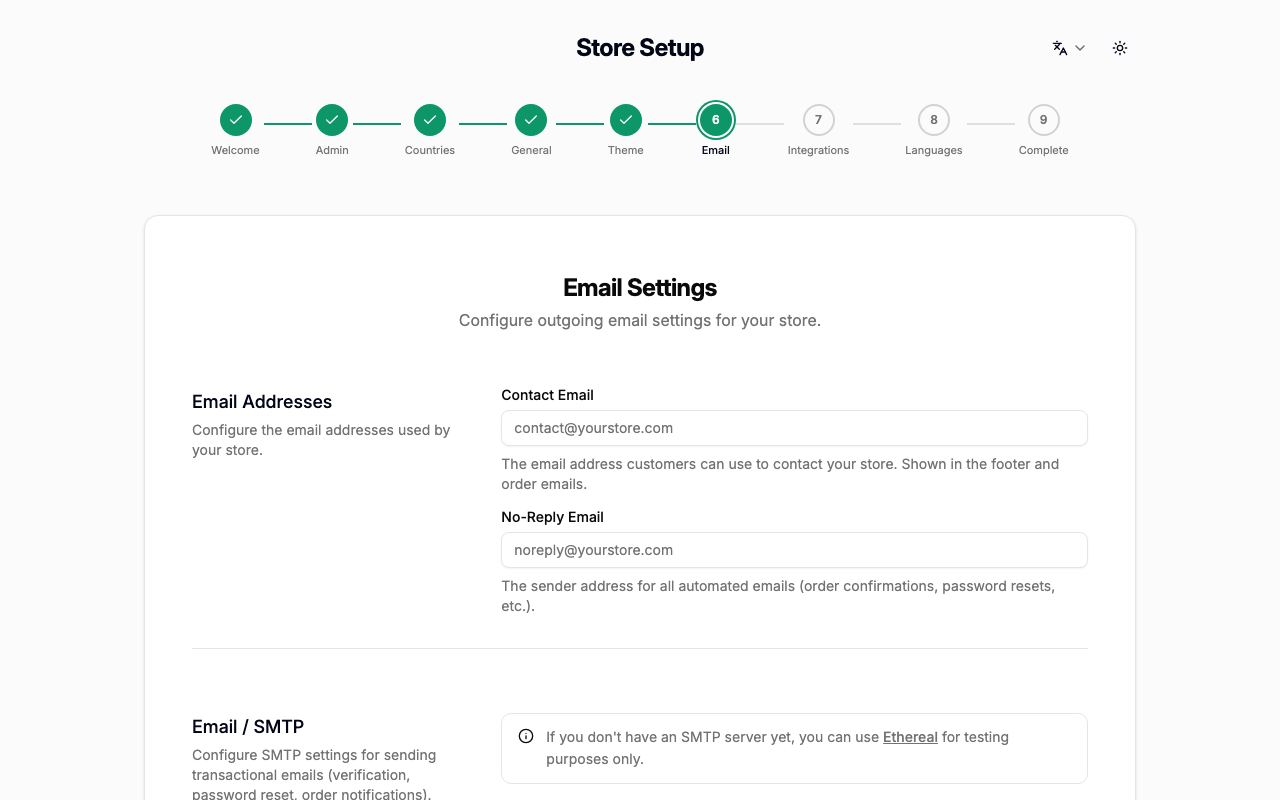
You will need the SMTP credentials from your email provider (Gmail, SendGrid, Mailgun, etc.).
| Field | Notes |
|---|---|
| Contact email | Your public support email shown to customers |
| No-reply email | Used as the sender address for automated emails |
| SMTP host | Your mail server hostname (e.g. smtp.sendgrid.net) |
| SMTP port | Usually 587 for TLS or 465 for SSL |
| SMTP user | Your SMTP login username |
| SMTP password | Your SMTP login password |
Tip: Click Save & Continue first to save your settings, then use the Send test email button to verify your SMTP configuration is working.
Important: If you have already configured SMTP through the
SMTP_HOST,SMTP_PORT,SMTP_USER, andSMTP_PASSWORDenvironment variables at deploy time, the matching fields are disabled here and show "Configured by environment variable" — you can leave them alone and proceed with the two email address fields.
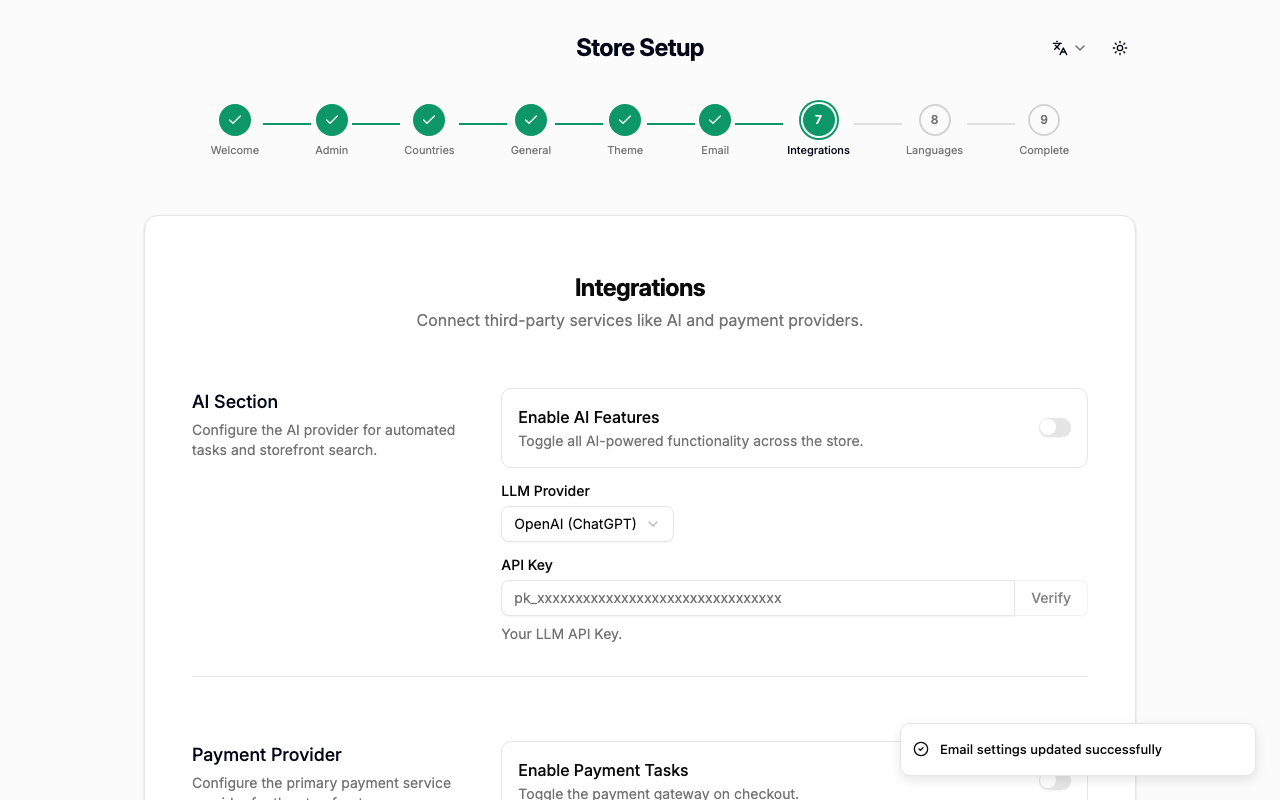
Step 7 — Integrations
Connect optional third-party services to unlock additional features. All integrations are optional — you can skip this step and configure them later from Settings → Integrations.
| Integration | What it enables |
|---|---|
| Platform Telemetry | Share anonymous usage data to help improve Capyshop |
| AI (OpenAI / Anthropic) | AI-powered product descriptions and search |
| Stripe | Credit card and digital wallet payments at checkout |
| Google Auth | "Sign in with Google" for customers |
| Facebook Auth | "Sign in with Facebook" for customers |
Note: Enabling platform telemetry sends anonymous admin panel usage statistics (such as which features you use) to the Capyshop team. No personal data, store names, or customer information is ever collected. You can turn it off at any time from Settings → Integrations.
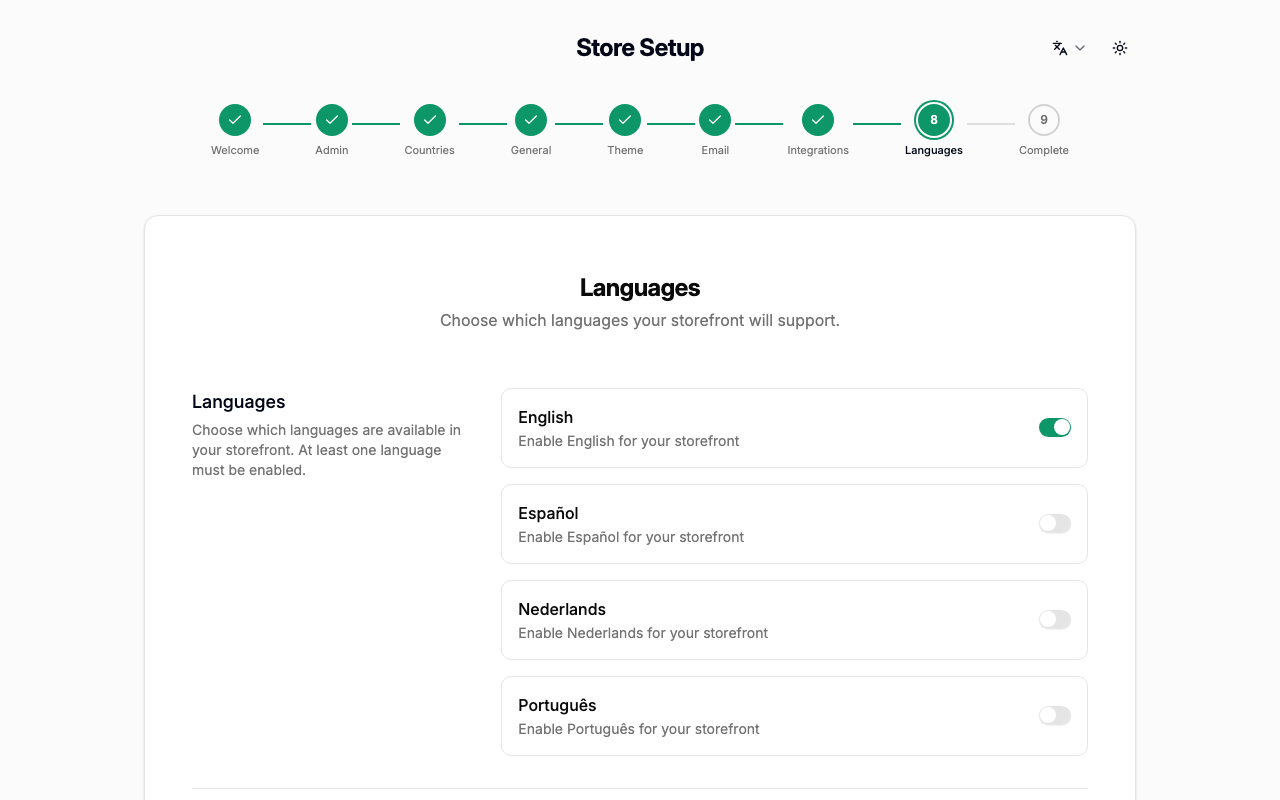
Step 8 — Languages
Choose which languages your storefront will be available in. English, Spanish, Dutch, and Portuguese are pre-selected by default — turn off any you don't need and toggle on any other locales you want to support. At least one language must be enabled, and it does not have to be English.
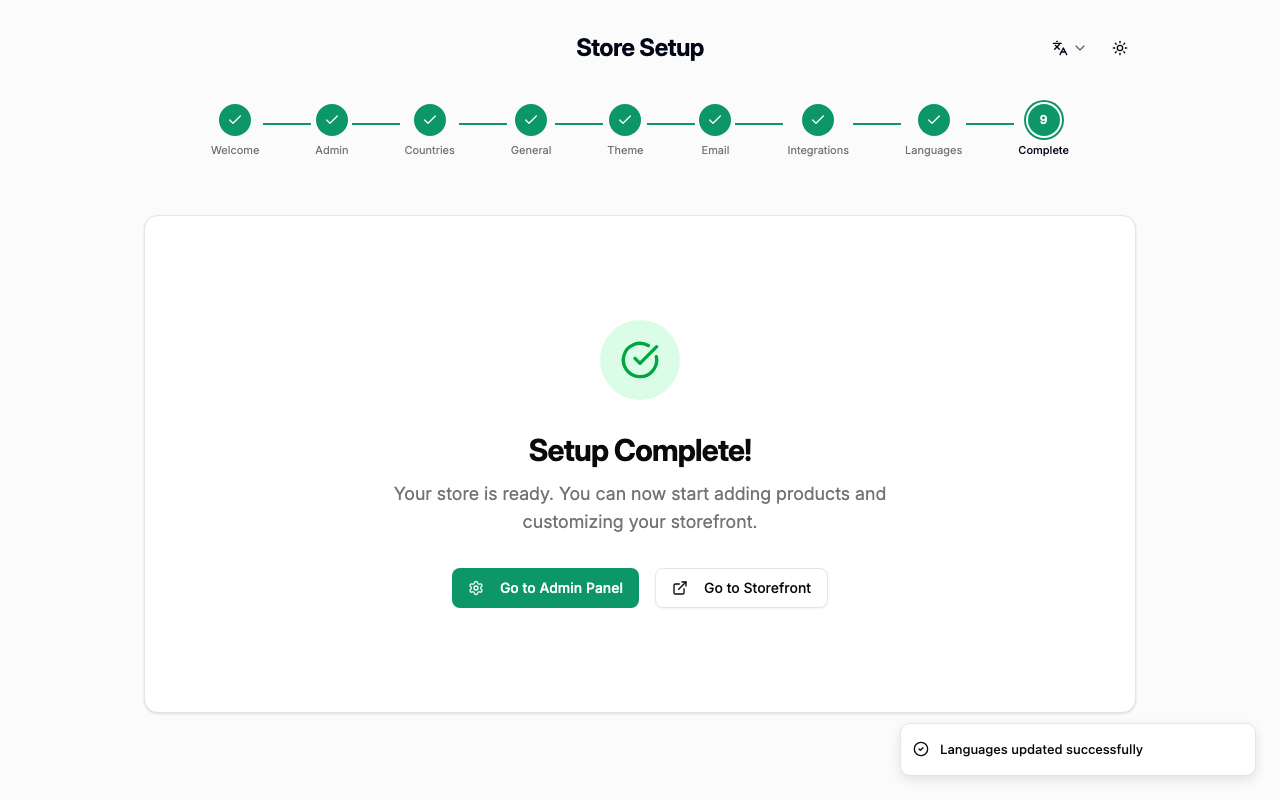
Step 9 — Setup complete
Congratulations! All steps are done. Click Go to Admin Panel to open the admin dashboard.
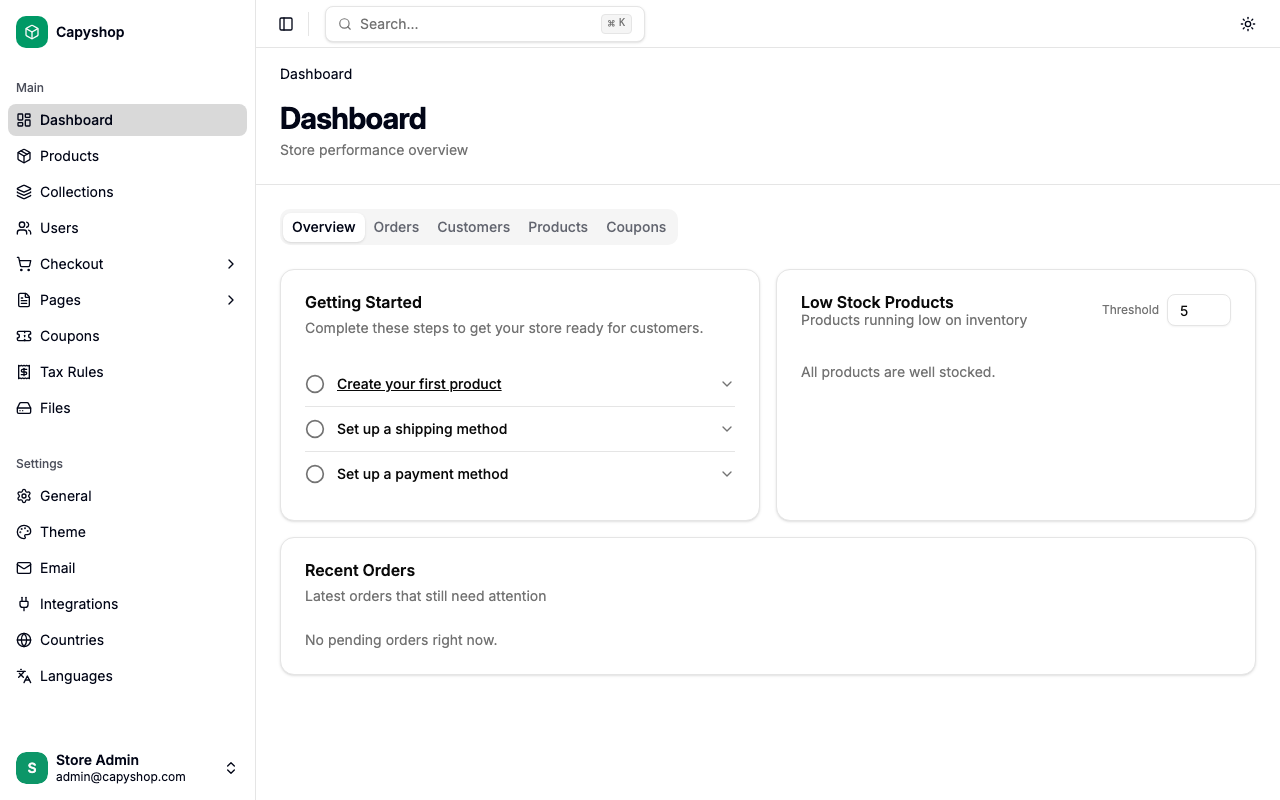
Getting started checklist
After onboarding, the admin dashboard shows a Getting Started checklist with three recommended next steps:
| Task | What to do |
|---|---|
| Create your first product | Go to Products → New and add at least one item to your catalog |
| Set up a shipping method | Go to Shipping → New to configure rates and delivery zones |
| Set up a payment method | Go to Payment Methods → New to enable checkout payments |
Once all three tasks are completed, your store is ready to accept orders.